
Yay! It`s time to shape our character in 3D!
After carefully rethinking the character’s design, I had the idea to merge the cat head concept with the plush toy from the previous post. And with future game updates in mind, I’ve decided — our hero will be the plushie itself, Sky!
I’ll be using the lovely Autodesk Maya for this task 🏆
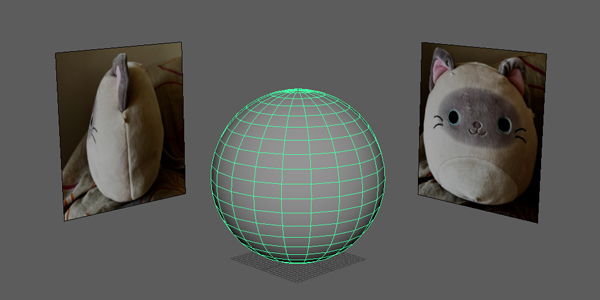
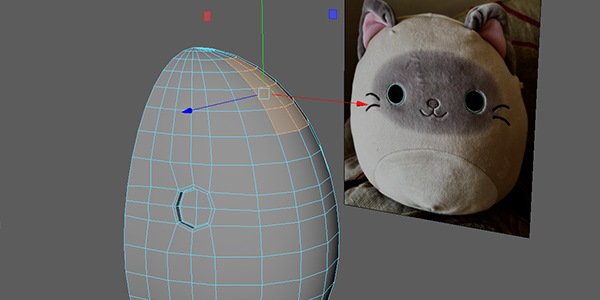
So first let’s set up the image planes and create a sphere as a base mesh.
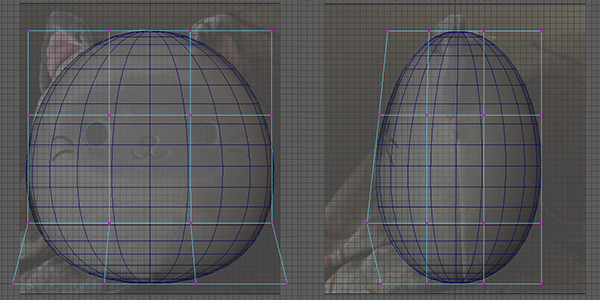
Now we can shape the silhouette on the front and the side views.
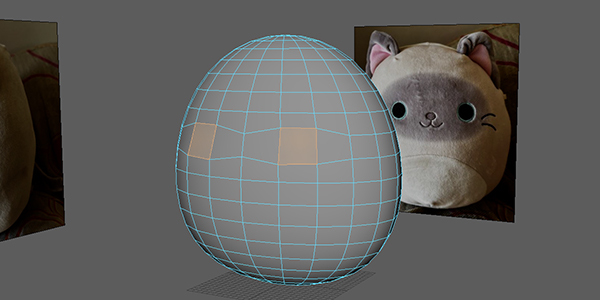
Let’s define the the eyes.
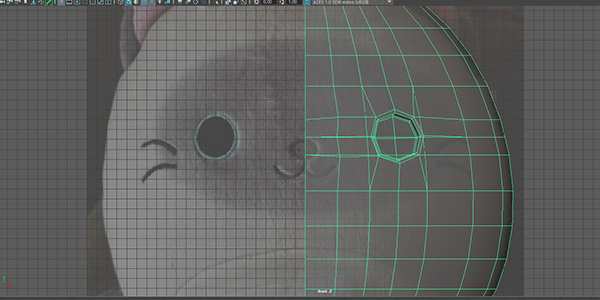
Delete the right side of the character and add more edge loops for the eyes.
Now let’s select the faces for the ear area.
Extrude the faces and add some edges.
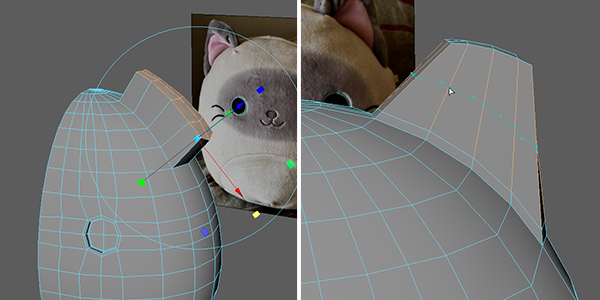
Keep refining the ear shape and adding edge loops when necessary.
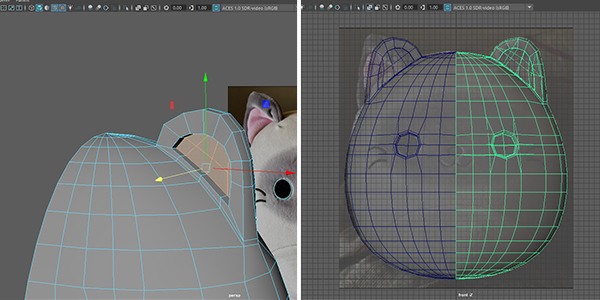
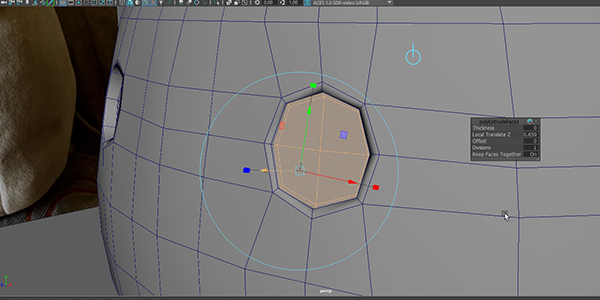
Eye socket adjusment and eye meshes creation.
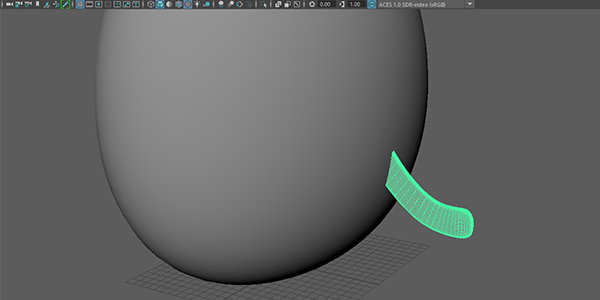
Added tail.
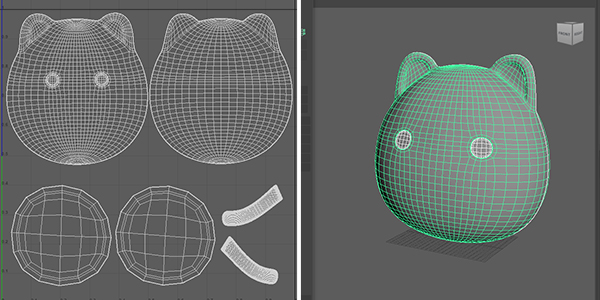
And finally we got our character ready with UV’s created.
Alright, the model is ready for texturing!
That step we’ll be covered in the next post 😄
I’m having so much fun with this and hopefully you too 🤟
See you there!
Glauber Belo.
Rigging Artist / Technical Animator